


Introduction
Creating stunning blood drip nails at home can be a fun and creative way to express your style. However, without proper precautions, DIY nail art can lead to damaged nails, skin irritation, or even infections. Whether you’re a beginner or an experienced nail enthusiast, following the right safety practices is essential for healthy and long-lasting results.
In this guide, we’ve compiled the top 15 best safety tips for achieving flawless blood drip nails, including essential nail care techniques, tool sanitization, and product selection advice. With these tips, you can enjoy bold and eye-catching nails safely, right from the comfort of your home.
Blood Drip Nails for Awareness
- Symbolic blood drip nails highlight causes and spark meaningful talks.
- A bold red drip design represents strength, empathy, and solidarity.
- Perfect for campaigns that focus on health and social awareness.
- Glossy crimson drips create a striking and unforgettable message.
- Nail art becomes a small canvas to support powerful movements.
- Ideal for events promoting unity, courage, and public education.
- The matte black base makes the red drips stand out dramatically.
- Creative designs help start conversations about serious topics.
- Minimal drip accents offer subtle yet impactful awareness looks.
- Pair with short captions to spread messages across platforms.
- Suitable for themed days, fundraisers, and awareness months.
- Artistic nail visuals can amplify campaigns on social media.
- Custom shades can represent different causes and initiatives.
- Easy DIY styles make participation accessible for everyone.
- A stylish way to show support while expressing creativity.
Always Use High-Quality Nail Products
When creating blood drip nails at home, using high-quality nail polish and acrylics is crucial. Cheap or expired products can cause nail damage, discoloration, or allergic reactions. Look for non-toxic, dermatologist-tested brands to ensure your nails stay healthy. High-quality products not only last longer but also give your DIY nails a professional finish. Avoid mixing different brands without checking compatibility, as chemical reactions can ruin your nail design or harm your skin.
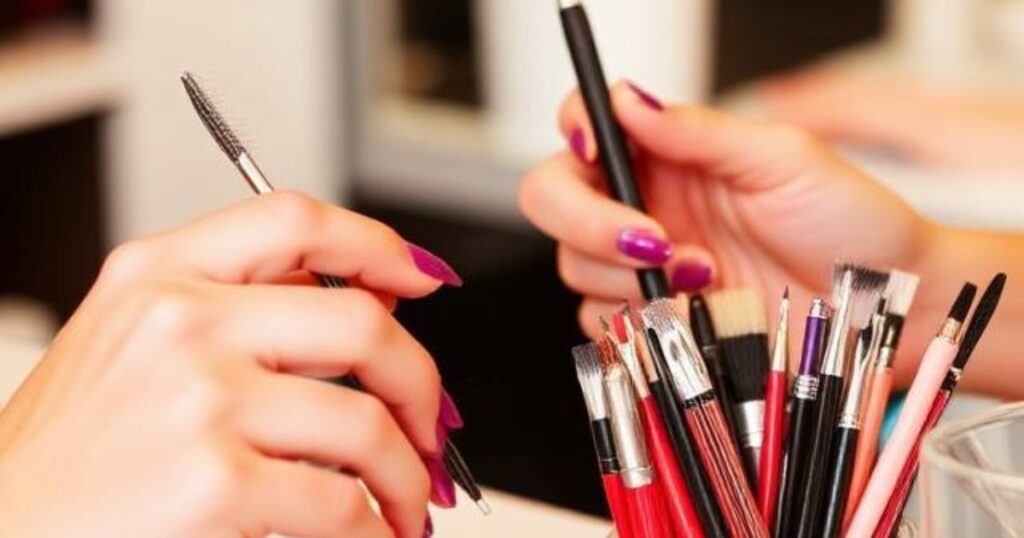
Sanitize Your Tools Properly
Clean tools are essential for safe blood drip nails. Before every session, disinfect brushes, nail files, and cuticle pushers to prevent infections. Bacteria or fungi can easily enter tiny cuts or nail beds, causing redness or irritation. Using nail care tools exclusively for your own nails reduces cross-contamination. Additionally, store your tools in a dry, clean container to maintain hygiene. Regular sanitization keeps your nails safe and ensures your home nail art looks flawless.
Protect Your Skin Around Nails
When creating blood drip nails, nail polish, or acrylic can accidentally touch the surrounding skin. Apply a thin layer of petroleum jelly or cuticle protector around nails to prevent staining or irritation. This step also makes cleanup easier and keeps your DIY nail designs sharp. Healthy skin ensures the overall appearance of your nails is neat and prevents infections from chemicals. Always check for allergies to nail products before starting your design.
Work in a Well-Ventilated Area
Strong chemical fumes from nail polish, acrylics, or gels can be harmful when inhaled. Always do your blood drip nails in a well-ventilated room. Open windows or use a small fan to circulate air. Ventilation reduces dizziness, headaches, or respiratory issues during your DIY nail session. Safety is just as important as style, so make your workspace comfortable and clean to enjoy the nail art process without health risks.
Avoid Overusing Acrylic or Gel Layers
While building your blood drip nails, adding too many layers of acrylic or gel can weaken your natural nails. Excessive layering may cause breakage or lifting. Stick to thin, even coats for a smooth, professional look. Remember, your nail care routine should prioritize health alongside creativity. Proper layering enhances durability while keeping your nails flexible and less prone to damage. Less is more when it comes to safe home nail art.
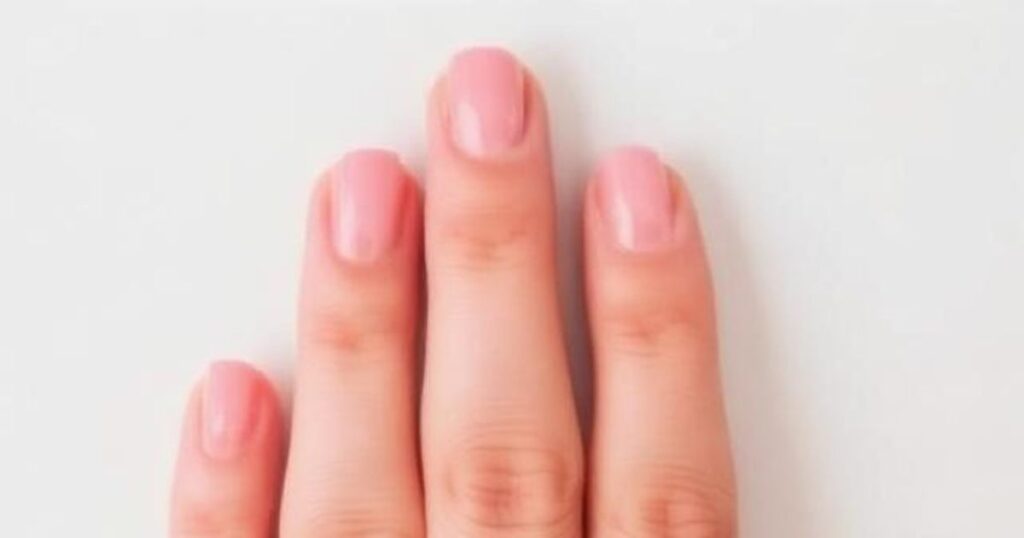
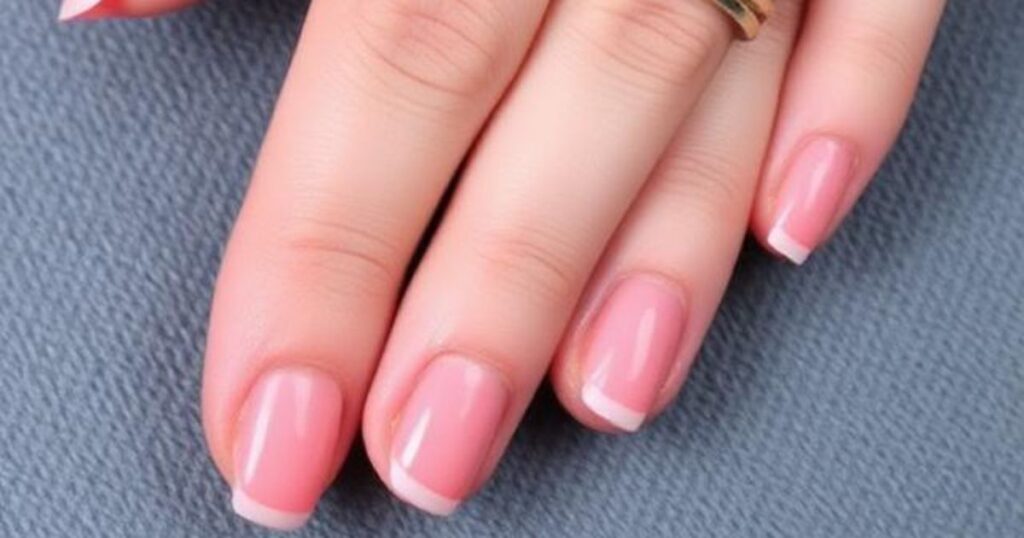
Keep Nails Moisturized
Moisturizing your cuticles and nails is vital for healthy blood drip nails. Dry nails are more prone to cracking, peeling, or infection. Use cuticle oil or hand cream daily to maintain hydration. Healthy, moisturized nails provide a better base for DIY nail designs, making your home nail art last longer. Moisture also prevents acrylics or polish from lifting prematurely, ensuring your nails stay stunning and safe.
Test Colors on a Sample Nail
Before applying bold red or dark shades for blood drip nails, test the colors on a practice nail or nail wheel. This helps you see the final effect and ensures the polish doesn’t react with your base coat. Testing colors reduces mistakes and preserves your natural nails. A small trial allows you to perfect your DIY nail technique, giving your home nail designs a professional, safe finish.
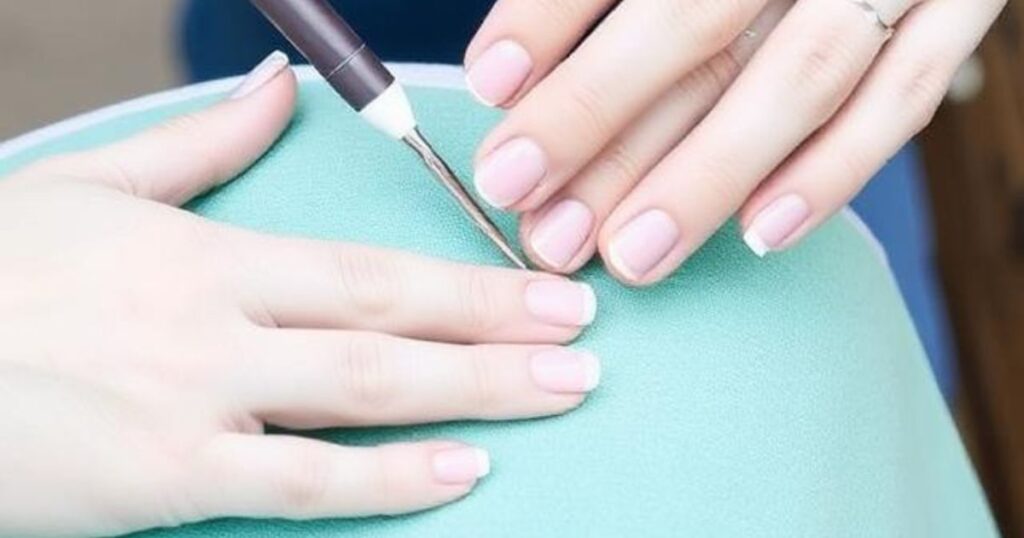
Avoid Cutting Cuticles Aggressively
Cuticles protect your nails from infections, so never cut them too deeply when doing blood drip nails. Instead, gently push them back with a cuticle pusher. Overcutting can lead to bleeding, swelling, or fungal growth. Healthy cuticles create a smooth canvas for your DIY nails and prevent complications during home nail art. A little care goes a long way in ensuring both style and nail health.
Use Gloves for Strong Chemicals
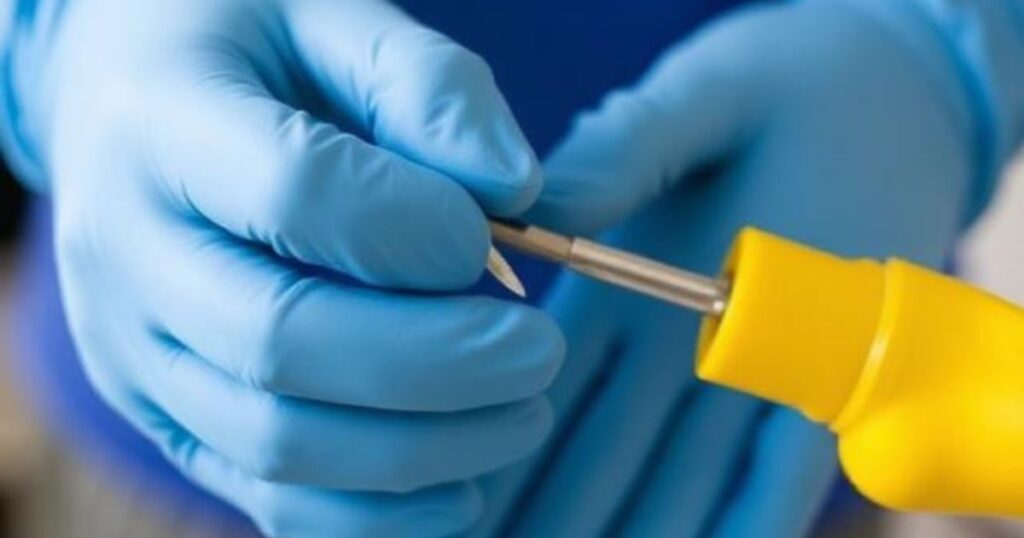
If your blood drip nails design involves harsh solvents or acetone, wear protective gloves to avoid skin damage. These chemicals can dry out your hands and nails or irritate. Gloves maintain moisture and protect against chemical burns, keeping your home nail session safe. Always follow manufacturer instructions for every product and avoid prolonged exposure to strong chemicals.
Follow Proper Removal Techniques
Removing your blood drip nails incorrectly can damage natural nails. Avoid peeling or scraping off acrylics or gel polish. Use recommended removers like acetone or soak-off solutions, and be gentle. Proper removal protects nail layers and cuticles, ensuring your nails stay healthy for future DIY nail designs. Skipping this step can lead to brittleness or infections.
Keep Nail Length Manageable
Long nails look amazing for blood drip designs, but overly long nails are prone to breaking or snagging. Maintain a practical length to avoid injuries while performing daily activities. Shorter, well-shaped nails reduce stress on the nail bed and make your home nail art easier to maintain. Healthy nail length is a balance between aesthetics and safety.
Avoid Sharing Your Nail Tools
Sharing nail files, brushes, or acrylic kits can transmit bacteria and infections. For safe blood drip nails, use your tools exclusively. Personal tools reduce the risk of nail infections and ensure hygiene. Maintaining clean, individual equipment is especially important in DIY nail care at home, where exposure to external germs is otherwise uncontrolled.
Take Breaks Between Designs
Give your nails time to breathe between blood drip nail sessions. Continuous acrylic or gel use can weaken natural nails. Rest periods allow nails to recover, grow stronger, and stay healthy. Incorporate natural oils and hand care during breaks to enhance nail strength. This practice ensures your home nail art remains both stylish and safe over time.
Be Mindful of Nail Allergies
Some people may be allergic to certain nail products used for blood drip nails, including pigments, adhesives, or acrylic powders. Always perform a patch test before starting your DIY nail design. Watch for redness, itching, or irritation. Recognizing allergies early prevents serious complications and keeps your home nail sessions safe and enjoyable.
Educate Yourself Before Trying Complex Designs
Complex blood drip nails require proper technique and patience. Watch tutorials, read guides, or practice on nail tips before applying to your natural nails. Knowledge reduces mistakes and prevents damage or chemical mishaps. Educating yourself ensures your DIY nails are creative, safe, and long-lasting, giving your home nail art a polished, professional look.
Final Thoughts on Safe Blood Drip Nails
Creating blood drip nails at home can be a fun and bold way to express your style, but safety should always come first. By following these top 15 safety tips, from using high-quality products to properly sanitizing your tools and taking care of your nails, you can enjoy stunning DIY designs without risking damage or infections. Remember, healthy nails are the foundation for beautiful nail art, and a little precaution goes a long way. Practice patience, take care of your nails, and your home nail art will look professional, safe, and long-lasting every time.
FAQ,s
What causes bleeding in the nails?
Usually trauma or injury; less often infections or underlying conditions.
How to do a drip nail?
Apply a base color, then use a dotting tool to pull gel into drip shapes.
Is it okay to leave blood under the nail?
Small spots often grow out, but severe pain or pressure needs medical care.
Why do I have blood lines in my nails?
They’re often splinter hemorrhages from minor trauma or circulation issues.
What do heart failure nails look like?
They may appear pale or bluish due to reduced oxygen circulation.
5 thoughts on “Top 15 Best Safety Tips for Blood Drip Nails at Home”