— Designs, Tips")


You finally caved and got that full set of long, glossy acrylics — and for two or three weeks, you felt like a million bucks. But now? Maybe one is already lifting at the cuticle. Maybe your natural nails underneath feel sore, thin, or just… weird. The appointment you booked for a professional soak-off fell through, and your wallet is begging for a break.
So you pull out the emergency kit: a metal file, maybe some tweezers, and a dangerous amount of confidence.
Stop right there.
I’ve been that girl who tried to pop off acrylics with a cuticle pusher and ended up with peeling, bleeding nail beds that took four months to grow out. Trust me — how to remove acrylic nails the wrong way is a regret that lingers every time you bump a finger. But the good news? Doing it right at home is not only possible, it’s simple. You just need patience, the right tools, and zero prying.
Let me walk you through the exact method that salons use — scaled down for your kitchen table.
Why You Should Never, Ever Pry or Rip
Here is the truth nobody tells you when you’re getting that fresh set: acrylic doesn’t “loosen” on its own. It’s chemically bonded to your natural nail plate. When you try to snap it off, you’re literally tearing away layers of your own keratin — sometimes all the way down to the pink, tender part that hasn’t hardened yet.
That white, flaky mess you see after a bad removal? That’s not “residue.” That’s your real nail, destroyed.
And those green spots you sometimes get? That’s a pseudomonas bacterial infection from moisture trapped between a lifted acrylic and your nail. Safe removal prevents all of that.
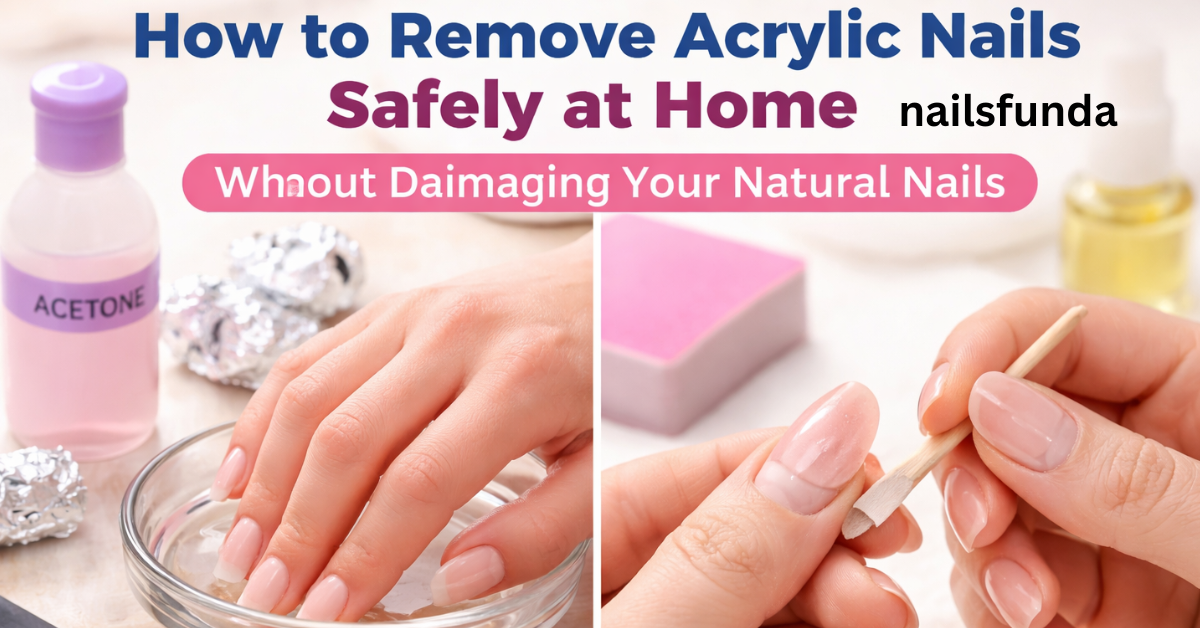
What You Actually Need (No Acetone? Don’t Start)
Forget the internet hack about hot water and dish soap. That works for gel polish, not acrylic. Acrylic is a plastic-like material that only breaks down with one thing: 100% pure acetone. Not nail polish remover with “acetone” somewhere on the label. That’s usually diluted to 40-60%. You need the strong stuff — the kind that comes in a metal bottle from the hardware store or beauty supply.
Your shopping list:
- 100% acetone (about $5–8)
- Glass or metal bowl (acetone eats through plastic)
- Cotton balls or cotton pads
- Aluminum foil (cut into 10 small squares)
- A coarse nail file (180 grit is perfect)
- A fine buffer block (240 grit or higher)
- Wooden orange stick or cuticle pusher (not metal!)
- Rich cuticle oil or coconut oil
- Hand cream with ceramides or shea butter
Got everything? Good. Clear your schedule for 40 minutes — this isn’t a rush job.
Step-by-Step: How to Remove Acrylic Nails Like a Pro
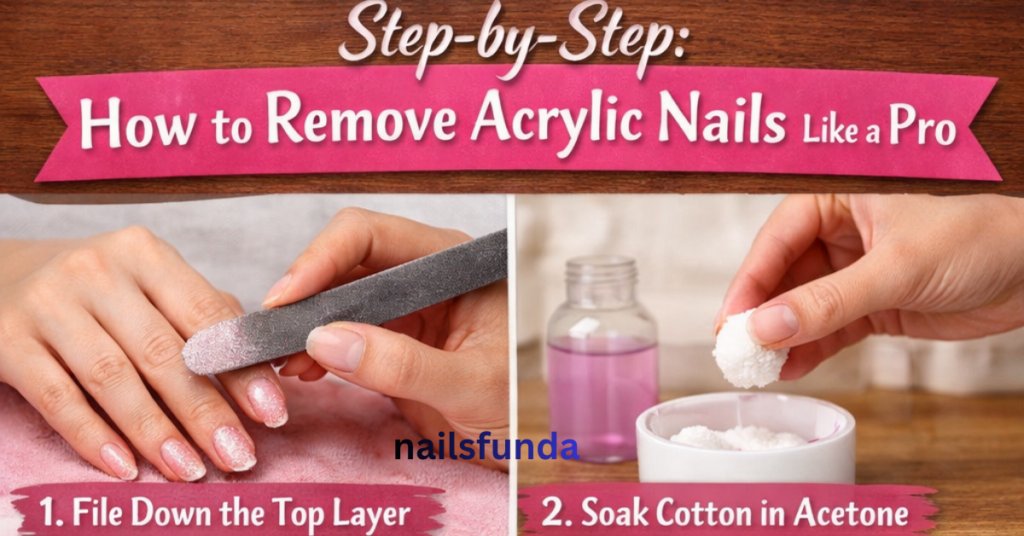
Step 1: Cut and File Aggressively (But Safely)
Clip down the free edge of each acrylic as short as you can without cutting your skin. Then take your coarse file and scratch the entire surface of every nail until the shiny top layer is gone. You’re not trying to remove the acrylic — just breaking the seal so acetone can penetrate. If you see little white dust, you’re doing it right. Stop when the surface looks dull and matte.
Step 2: Warm Your Acetone (Secret Weapon)
Pour enough acetone into your glass bowl to cover your fingertips. Microwave a separate mug of water for 90 seconds, then place the acetone bowl into the hot water bath. Do not microwave acetone directly. Warm acetone works twice as fast as cold. It should feel warm to the touch, not hot.
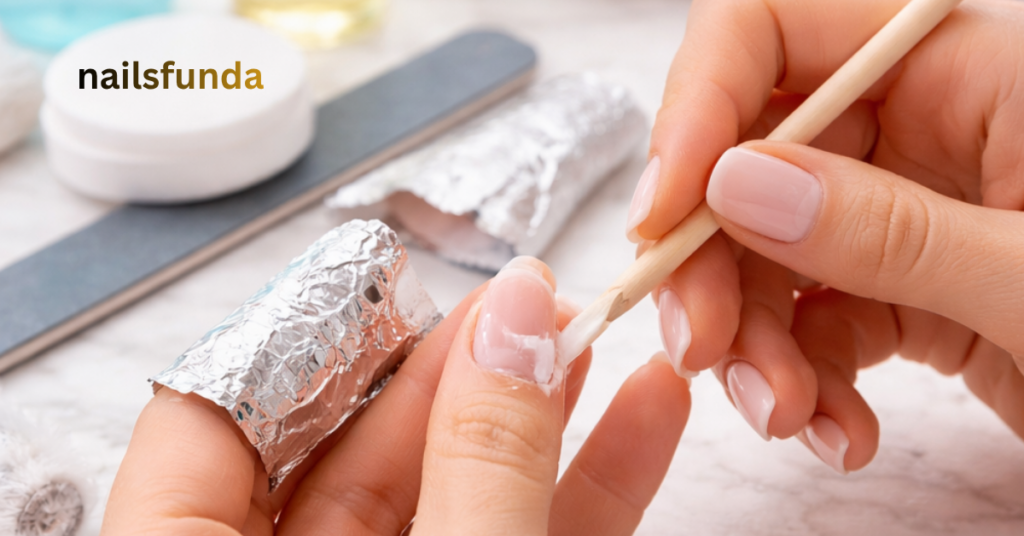
Step 3: The Foil Wrap Method
Soak a cotton ball completely in warm acetone. Press it firmly over your entire nail — from cuticle to tip. Wrap a square of foil tightly around your finger, making a little sealed pocket. The goal is zero evaporation. Repeat on all ten fingers.
Step 4: Wait. Seriously — Wait.
Set a timer for 15 minutes. Do not peek. Use this time to put on a podcast or clean out your purse. If you unwrap early, you’ll just let air in and double your total time.
Step 5: Test, Don’t Force
After 15 minutes, unwrap one finger. The acrylic should look soft, cloudy, and almost mushy. Take your wooden stick and gently push the softened acrylic from your cuticle toward the free edge. If it slides off in thin layers — perfect. If it resists, re-wrap for another 5–10 minutes.
Here’s the golden rule: never scrape hard enough to feel pain or see white marks on your natural nail. That white means you’re filing your real nail. Stop immediately and re-soak.
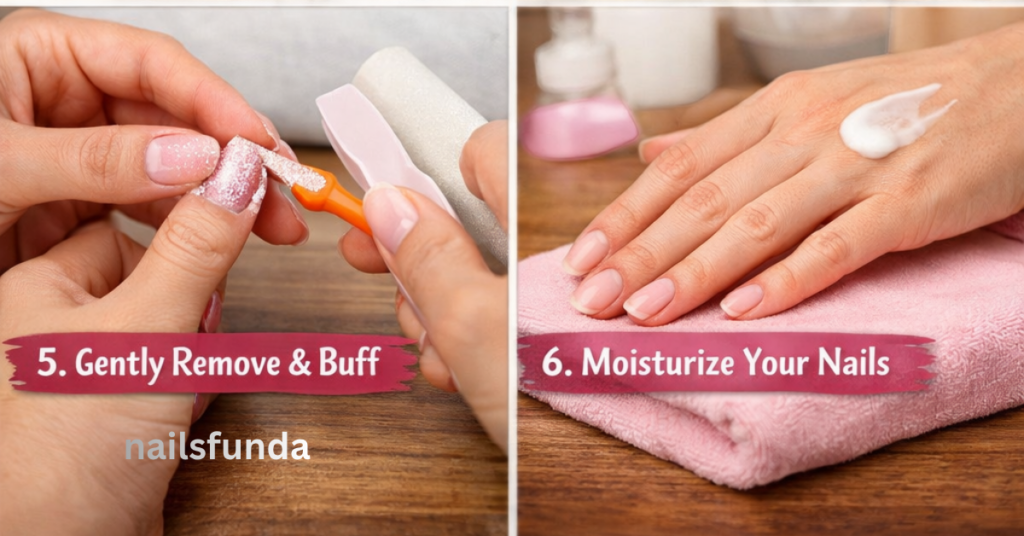
Step 6: The Last Stubborn Bits
Sometimes a thin layer of acrylic stays stuck near the sidewalls. That’s fine — don’t attack it. Instead, use your fine buffer block with light pressure to smooth the entire nail plate. Those last specks will come off with buffing. Your goal is a smooth, untextured surface, not a perfectly clean nail.
Step 7: Immediate Rehab
Wash your hands with mild soap to remove every trace of acetone. While your nails are still damp, massage cuticle oil into each nail for 30 seconds. Then apply a thick hand cream. Your nails will look dull and feel papery — that’s normal. They just went through a chemical bath.
What About “Non-Acetone” Removers? Or That Rice Hack?
I’ve seen the videos: soaking nails in warm rice, using vinegar, even hand sanitizer. None of them work on true acrylic. You’ll sit there for two hours, ruin your skin, and end up prying anyway. 100% acetone is the only solvent strong enough to break the polymer chains in acrylic. Don’t waste your time or your nails.
The Week After Removal (Most People Skip This)
Your natural nails are now thinner and more porous than normal. For the next seven days:
- Wear gloves for dishes and cleaning.
- Skip gel polish or dip powder — let them breathe.
- Apply cuticle oil morning and night (jojoba oil is magic).
- File only in one direction to avoid peeling.
- Take a biotin supplement if your body tolerates it.
You’ll notice ridges, maybe some softness, and definitely a shorter free edge. That’s fine. In about 6–8 weeks, your nail will have completely replaced itself with new, healthy growth.
When to Just Go to a Salon
If your acrylics were applied with a drill file (e-file) directly into your nail plate, or if you already have visible damage like dents, splits, or green spots — please go to a professional. Some things aren’t worth saving twenty bucks over. A salon soak-off costs around $15–25 and takes 20 minutes. Your future self will thank you when your nails don’t hurt to type.
Final Honest Word
Learning how to remove acrylic nails the right way is one of those grown-up beauty skills nobody teaches you. We all start by peeling off that first lifted nail in a parking lot (guilty). But after you do it properly once — with warmth, patience, and zero prying — you’ll never go back. Your natural nails will stay long, strong, and ready for whatever you put on them next.
And if you mess up? Don’t panic. Cut them short, keep them oiled, and give it three weeks. Nails grow back. But now you know exactly how to treat them while they do.